How to Add & Use Google Tag Manager on a Next.js Website

Next.js and Google Tag Manager: A Guide on How to Add and Use GTM in Next.js
If you’re building with Next.js and care about analytics, marketing performance, or consent‑aware tracking, integrating Google Tag Manager (GTM) properly is essential. While adding GTM to a traditional website is straightforward, Next.js introduces a few extra considerations, especially around client‑side routing, hydration, and performance optimisation.
This guide walks you through a clean, production‑ready approach to using Google Tag Manager with Next.js, covering both the Pages Router and the App Router (Next.js 13+), along with common pitfalls and advanced optimisation techniques.
What You’ll Learn
- How to add Google Tag Manager to a Next.js project
- The recommended setup using @next/third-parties
- How to track pageviews correctly with client‑side routing
- Common GTM + Next.js mistakes (and how to avoid them)
- Performance and consent considerations for production environments
Why Use Google Tag Manager With Next.js?
Understanding user behaviour is critical for improving digital experiences, optimising conversions, and making informed marketing decisions. Google Tag Manager allows you to deploy and manage analytics, advertising, and third‑party tags without repeatedly modifying application code.
Next.js, however, behaves differently from traditional multi‑page websites:
- Navigation happens client‑side
- Pages don’t reload on route changes
- Scripts must be loaded carefully to avoid performance or hydration issues
This is where GTM adds real value. When configured correctly, it enables accurate tracking across dynamic routes while keeping your codebase clean and maintainable.
Step‑by‑Step: Adding Google Tag Manager to Next.js
Note: This section uses the App Router (app/ directory). Pages Router examples are covered later.
Step 1: Install the required package
npm install @next/third-parties@latest next@latest
Step 2: Import the Google Tag Manager component
import { GoogleTagManager } from ‘@next/third-parties/google’;
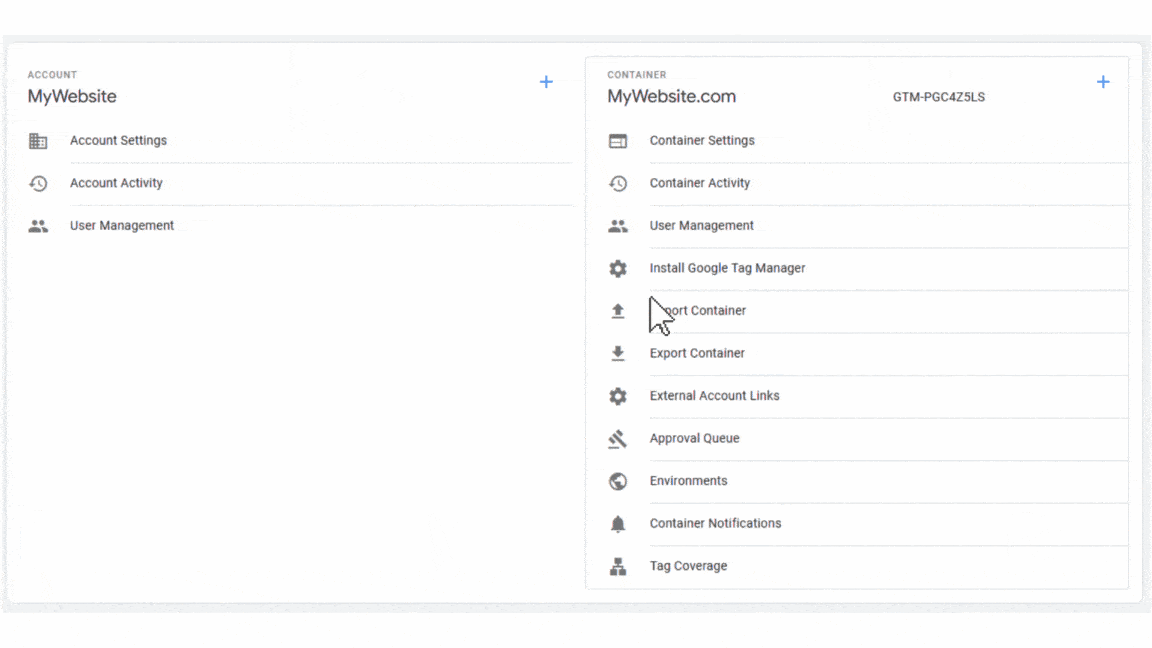
Step 3: Get your GTM container ID
In Google Tag Manager:
Admin → Install Google Tag Manager → Container ID
 Example: GTM-XXXXXXX
Step 4: Add GTM to your root layout
Add the GTM component to app/layout.tsx so it loads globally.
export default function RootLayout({ children }: { children: React.ReactNode }) {
return (
<html lang=”en”>
<GoogleTagManager gtmId=”GTM-XXXXXXX” />
<body>{children}</body>
</html>
);
}
Step 5: Add the <noscript> fallback
GTM requires a <noscript> iframe for users with JavaScript disabled. When using JSX, inline styles must be converted to an object.
{/* Google Tag Manager (noscript) */}
<noscript>
<iframe
src=”https://www.googletagmanager.com/ns.html?id=GTM-XXXXXXX”
height=”0″
width=”0″
style={{ display: ‘none’, visibility: ‘hidden’ }}
/>
</noscript>
{/* End Google Tag Manager (noscript) */}
Consent & Compliance Considerations
Google Tag Manager does not enforce GDPR or consent requirements by default. If your site is subject to privacy regulations, you must:
- Implement a Consent Management Platform (CMP)
- Configure Google Consent Mode so tags fire only after appropriate consent signals
Before publishing, always verify your setup using a consent‑testing tool like Consent Mode Monitor to ensure tags behave as expected.

Important Considerations When Using GTM With Next.js
1. Global vs Page‑Specific Tracking
Loading GTM in the root layout enables site‑wide tracking, which is suitable for most use cases. However, avoid global loading if:
- Only specific pages require tracking (e.g. checkout flows)
- Parts of the site contain sensitive or authenticated data
- You use multiple GTM containers
- You have complex consent requirements
In these scenarios, a more granular implementation is recommended.
2. JSX Compatibility
GTM’s default snippets are not React‑friendly. HTML attributes such as:
style=”display:none;visibility:hidden”
Must be converted to JSX:
style={{ display: ‘none’, visibility: ‘hidden’ }}
Failing to do this can break builds or cause hydration issues.
3. Client‑Side Routing
Next.js does not reload pages during navigation. To capture accurate pageviews, you must either:
- Use GTM History Change triggers, or
- Manually push page_view events to the dataLayer
Examples are shown below.
4. Experimental Status of @next/third-parties
The @next/third-parties package is still under active development. While it is the recommended approach, always test upgrades carefully as APIs may change.
Advanced GTM Integration Techniques
Technique 1: Pageview Tracking (Pages Router)
Use this approach if your project relies on the Pages Router (pages/ directory).
import { useEffect } from ‘react’;
import { useRouter } from ‘next/router’;
const usePageViewTracking = () => {
const router = useRouter();
useEffect(() => {
const handleRouteChange = (url: string) => {
window.dataLayer = window.dataLayer || [];
window.dataLayer.push({
event: ‘page_view’,
page: url,
});
};
router.events.on(‘routeChangeComplete’, handleRouteChange);
return () => router.events.off(‘routeChangeComplete’, handleRouteChange);
}, [router.events]);
};
export default usePageViewTracking;
Technique 2: Pageview Tracking (App Router)
For Next.js 13+ App Router, use usePathname.
‘use client’;
import { useEffect } from ‘react’;
import { usePathname } from ‘next/navigation’;
export const GA4Provider = () => {
const pathname = usePathname();
useEffect(() => {
window.dataLayer = window.dataLayer || [];
window.dataLayer.push({
event: ‘page_view’,
page: pathname,
});
}, [pathname]);
return null;
};
Add it to your root layout:
import { GA4Provider } from ‘../components/GA4Provider’;
export default function Layout({ children }) {
return (
<>
<GA4Provider />
{children}
</>
);
}
Technique 3: Troubleshooting GA4 Tags Not Firing
Checklist:
- Ensure GTM is loaded only once
- Confirm your GA4 tag uses a History Change trigger
- Verify that page_view events are visible in GTM Preview mode
Technique 4: Load Analytics Only in Production
Avoid polluting analytics data during development.
import Script from ‘next/script’;
const Analytics = () => {
if (process.env.NODE_ENV !== ‘production’) return null;
return (
<Script
src={`https://www.googletagmanager.com/gtag/js?id=${process.env.NEXT_PUBLIC_GOOGLE_ANALYTICS}`}
strategy=”afterInteractive”
/>
);
};
export default Analytics;
Performance Optimisation Best Practices
- Load scripts using afterInteractive or lazyOnload
- Minimise unnecessary dataLayer pushes
- Preconnect to GTM domains
- Defer non‑essential third‑party tools
- Avoid duplicate containers or tags
Script loading strategies summary:
| Strategy | Best Used For |
| beforeInteractive | Critical scripts required before render |
| afterInteractive | Analytics and tracking scripts |
| lazyOnload | Non‑essential widgets |
| blocking | Rarely recommended |
Conclusion
Integrating Google Tag Manager with Next.js is straightforward when done correctly. The key principles are:
- Load GTM only where it’s truly needed
- Account for client‑side navigation
- Ensure JSX compatibility
- Optimise script loading for performance
- Configure consent and compliance properly
Once in place, GTM enables scalable analytics, enhanced e‑commerce tracking, and advanced marketing integrations—without repeatedly touching your application code.
FAQs
How do I add Google Tag Manager to a Next.js website?
Create a GTM account, copy your container ID, and add it to your project using the @next/third-parties GoogleTagManager component. Place it in your root layout for site‑wide tracking.
How do I add Google Analytics to Next.js?
The recommended approach is to deploy Google Analytics via Google Tag Manager. Create a GA4 Configuration tag in GTM and use History Change triggers to track client‑side navigation.
Can I use gtag.js directly instead of GTM?
Yes, but GTM offers greater flexibility, easier maintenance, and better support for marketing and advertising tags at scale.
Is Google Tag Manager GDPR‑compliant?
GTM itself is neutral. Compliance depends on how you configure consent signals and whether tags fire only after valid user consent.
- Enterprise SaaS SEO – Expert Strategies, Tools, & Playbooks - 31/03/2026
- How to Set Up and Implement Cookiebot by Usercentrics - 18/03/2026
- Top 5 OneTrust Alternatives for 2026 - 12/03/2026