How to Run a Google Tag Manager (GTM) Audit

Google Tag Manager (GTM) is a valuable tool but complex tool. It’s easy to make simple mistakes when dealing with many tags, triggers, and variables. Running regular GTM audits is a simple and effective way of spotting errors before they become troublesome.
In this guide, we’ll provide a checklist to ensure you run the smoothest possible audit.
What is a GTM audit?
A GTM audit involves a series of tests to ensure your GTM setup is running correctly. An audit provides an overview of your GTM setup and helps to answer key questions, such as:
- Is data being collected accurately?
- Are tags firing when they should be?
- Does my GTM setup help to further my marketing and web analytics goals?
At the end of an audit, you’ll have a list of issues within your Google Tag Manager account. You can get to work correcting these problems and building a more effective implementation.
How to run a Google Tag Manager audit
Running a successful GTM audit requires some preparation. If you’re unsure where to start, we’ve provided a comprehensive checklist to help get you started. Consider the following tips as you carry out your GTM audit.
Build a measurement plan
Ideally, before even implementing GTM, it’s important to create a measurement plan. This will outline every single interaction you want to track on your website or app. When you carry out your audit, you’ll measure your implementation’s success against this plan.
Bear these points in mind when creating your measurement plan:
- Your measurement goals: What sorts of interactions do you want to track on your site? How will this data help further your business? Remember, your measurement goals should align with your wider business priorities. These will vary depending on whether you run an ecommerce, marketing, or blog site.
- Choose metrics to align with your goals: Unsurprisingly, your measurement goals should be measurable. Choose metrics that align with your business goals. If your objective is to increase sales, you should keep an eye on revenue. If you’re looking to increase customer loyalty, you might track repeat customers.
- Segmenting into groups: To track your progress, it’s useful to understand how different groups of users behave on your site. Consider the demographics that make up your audience. Then, think about the sorts of segments that can represent them. For instance, you might create segments based on users from different geographic locations.
- Data privacy: If your audience is based in an area with specific data laws, you’ll need to make compliance part of your implementation. With GTM, this means utilising a feature called ‘Consent Mode’. For a successful implementation, you can use our Consent Mode Monitoring tool, which scans your site and identifies tags with missing consent.

Check your website
Has GTM’s tracking code been correctly implemented on your website? It’s a basic question, but overlooking this area could lead to many problems. Make sure your audit involves a thorough audit of your current implementation.
It’s worth having your developer add element IDs or CSS selectors to important aspects of your website. This includes any elements that a user interacts with on your website, such as form submissions.
There are also external tools that can monitor your implementation. Popular examples include Screaming Frog and Sitebulb.
To check your implementation manually, there are two methods you can follow. You can validate your tracking setup using the Google Tag Assistant extension, or you can check the code in the source code of each page. Let’s look at both these methods in more detail.
Using the Tag Assistant Chrome Extension
The first step is to head to the Chrome Web Store and search for ‘Tag Assistant’. Choose the first result that appears.
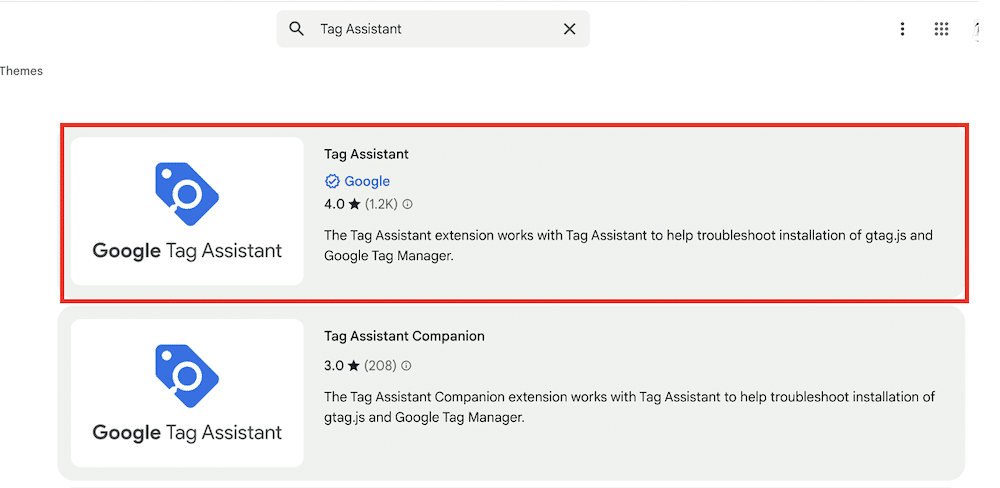
From the following page, choose ‘Add to Chrome’.

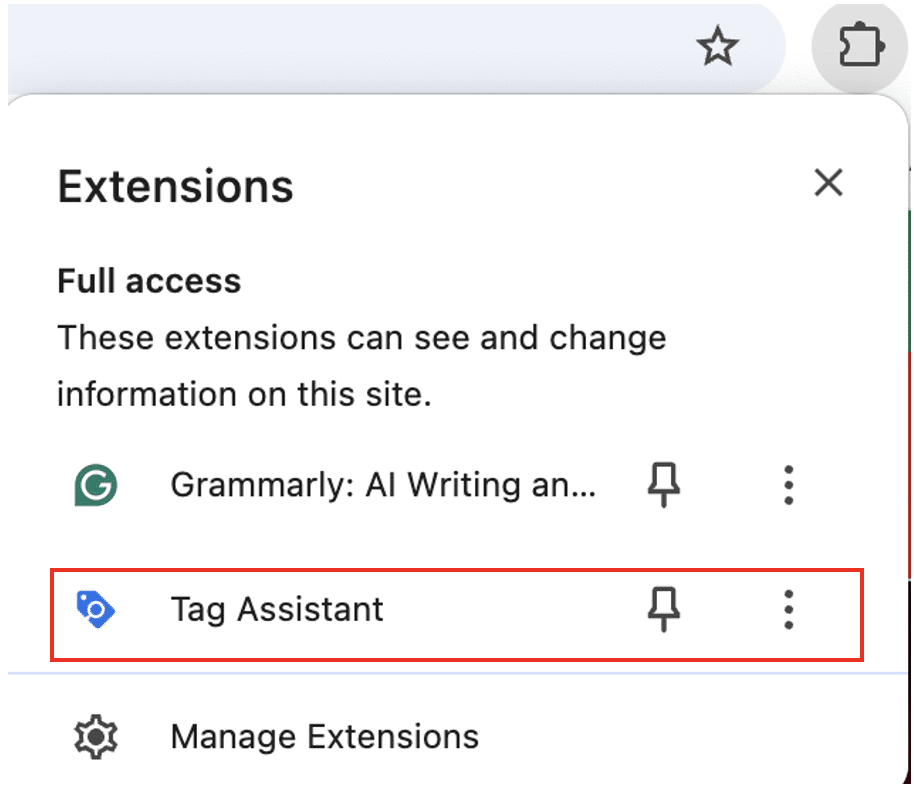
The next step is to navigate to your website and select the Tag Assistant from your list of extensions.
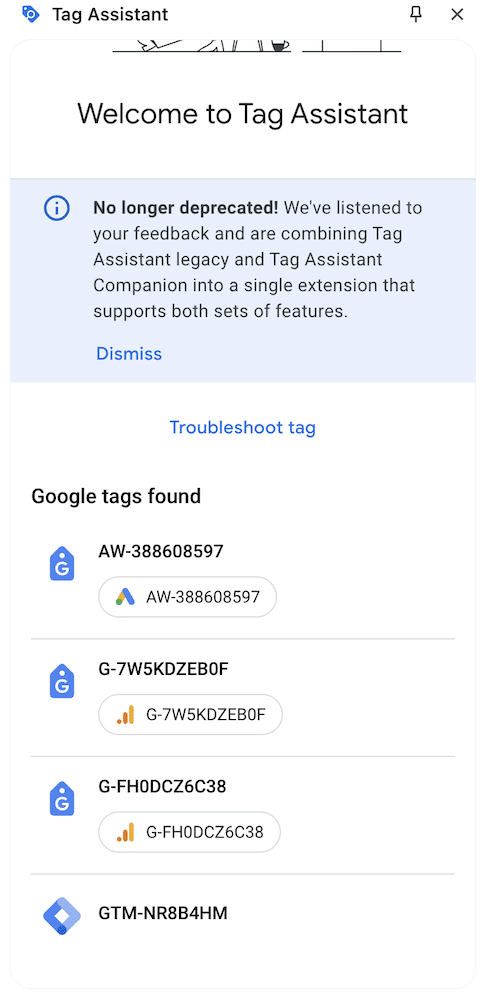
The tag assistant will display a list of tags that have been loaded on your page. Each tag will be highlighted in a different colour. If a tag shows as green or blue, it has been successfully installed.
Using a page’s source code
Head to your website via a Google Chrome browser.
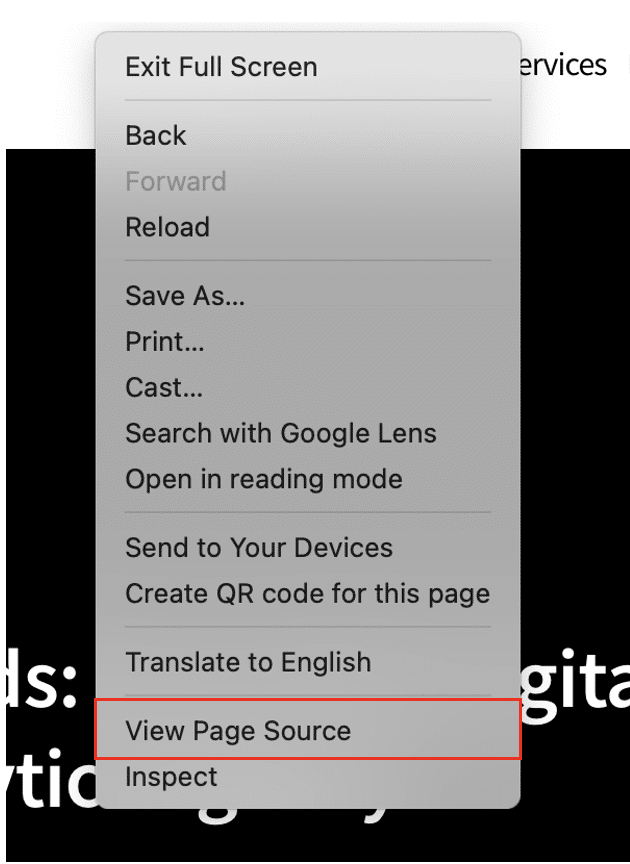
Right-click anywhere on a webpage. Choose ‘view page source’ from the following menu. Alternatively, press the CTRL and U keys on your keyboard together simultaneously.
Your website’s source code should have appeared within a new tab. Press the CTRL and F keys together; this will bring up the find tool.
Search ‘GTM’ and the tool will take you to instances of code that relate to Google Tag Manager. If GTM is installed correctly, two separate examples should appear. One will be located in the head tag and the other in the body tag.
Establish naming conventions
A surprising number of GTM errors can be attributed to issues surrounding naming conventions. In GTM, you can name your tags and triggers however you’d like. Unfortunately, this can lead to simple mistakes.
Naming conventions provide a clear guideline. When auditing your setup, you can make sure all tags are in line with your conventions.
Let’s explore two important factors for clear and thorough naming conventions.
Be as descriptive as possible.
Often, people make the mistake of choosing basic names for tags, triggers, and variables. For example, for a page_view event, they might opt for the name ‘Page View’. Unfortunately, this does little to help a viewer. They might understand what the tag does, but they don’t know which page it applies to or where the data is going.
Remember, GTM doesn’t just feed data to Google Analytics 4. You might be integrated with several other tools, such as HotJar or Google Ads. A tag should inform a user about which external tools it involves.
A better name might look something like ‘GA4 – Page View – All pages’.
Once you’ve decided how to describe your tags, triggers, and variables, It’s important to share naming conventions with employees. When multiple people work on the same GTM account, naming can quickly become muddled.
As well as outlining how tags should be described, make sure your conventions clarify other key areas. For instance, should tags be separated by hyphens or spaces? In what order should words be listed (eg, ‘GA4 – Page View – All pages’ or ‘Page View – All Pages – GA4)?
Lack of clarity causes problems when people search for specific tags, triggers, or variables. Users may receive incomplete lists, which can lead to errors. By enforcing clear guidelines, you help to avoid this issue.
In GTM, it’s easy to fall into the trap of using multiple tags for a single purpose. Before long, you can end up with a disorganised mess of different tags. During your audit, look for instances where this issue occurs.
To simplify things, consolidate your tags where possible. For example, if you’re running an e-commerce store with multiple CTAs, you don’t need a different tag for each CTA. These buttons will likely all have a similar ID number. A single tag will be enough to track them.
Utilise regular expressions
When using GTM, lots of people create lots of triggers within the same container. They could save themselves a lot of hassle by instead utilising regular expressions (RegEx). These are extremely precise tracking deployments that can be used to consolidate tags, triggers, and variables.
During your audit, review your use of triggers, and look for instances where RegEx can be used instead.
Let’s explore how you can use RegEx to your advantage.
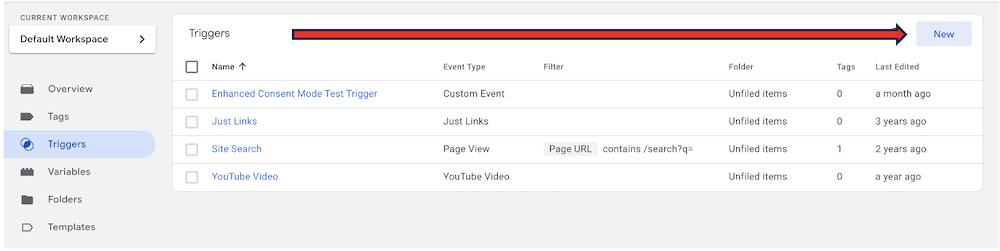
Within GTM, head to ‘Triggers’. You’ll be brought to a list of all the triggers within your GTM container. Choose ‘New’ to create a new trigger.
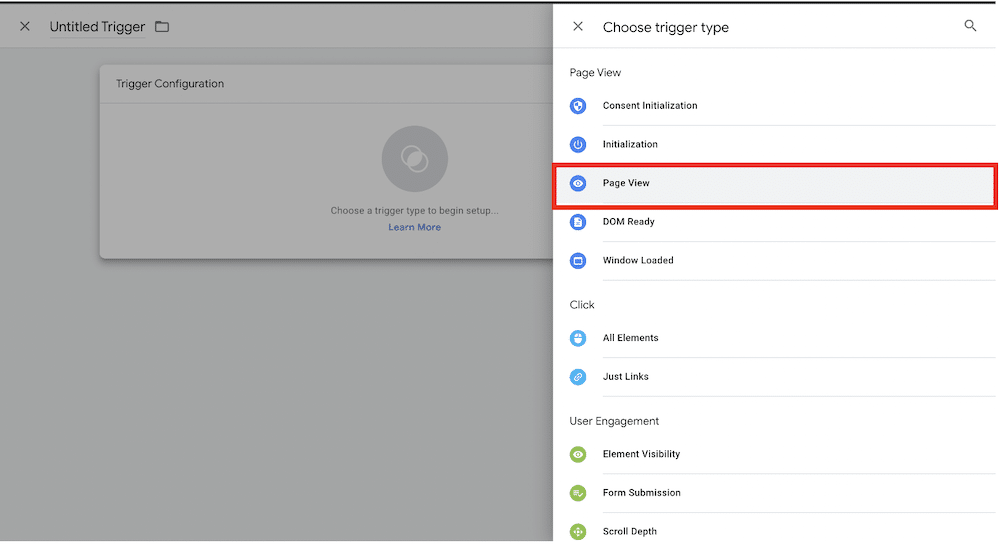
Name your trigger, and choose ‘Trigger Configuration. Then, select ‘Page View’ as the trigger type.
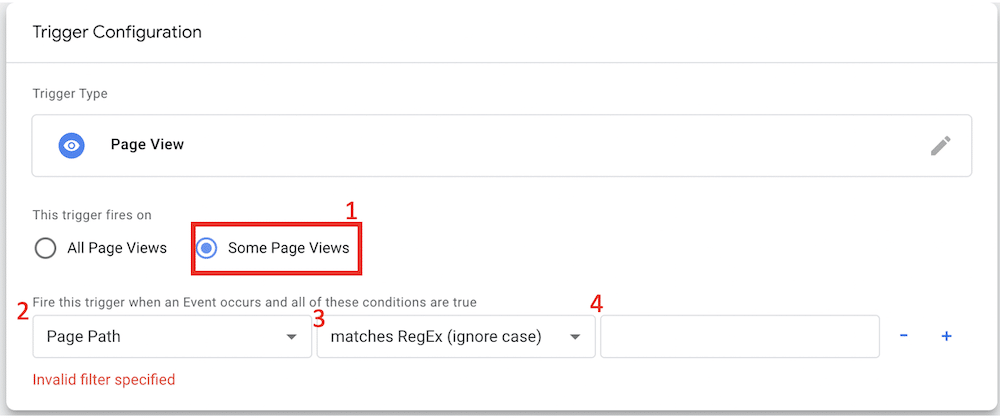
Make sure that your tag is only set to fire on ‘Some Page Views’. Three new boxes should appear. Make sure that the first box displays ‘Page Path’. For the second box, choose ‘Matches RegEx (Ignore Case)’ and enter your website’s URL into the third box.
You can use this trigger for any tags you’d like to fire on multiple pages.
Opt for built-in variables over custom templates
While users have the option of creating custom HTML tags within GTM, it isn’t always recommended. It’s easy to make simple mistakes during coding that can prevent your tag from working correctly.
GTM offers a wealth of built-in variables for various purposes. For example, within GTM, you can find solutions for scroll and video tracking, clicks, and many other uses. During your audit, check whether there are built-in options for the tags you need.
Let’s explore how you can utilise a custom template in GTM. For this example, we’ll show how you can carry out scroll tracking.
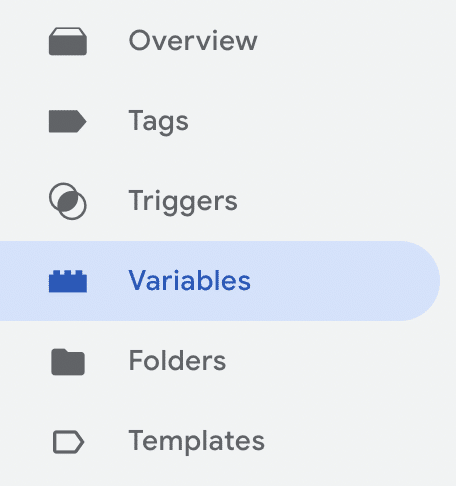
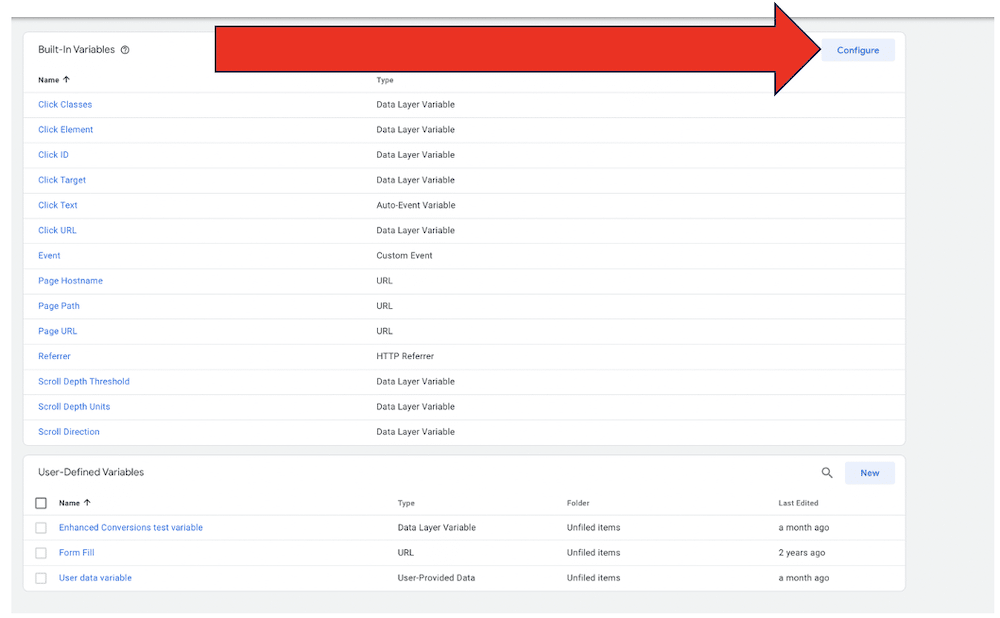
From within GTM, choose ‘Variables’ from the toolbar on the left of your screen.
From the following screen, you’ll see two tables. At the top of the screen, you’ll see a list of all your built-in variables. At the bottom, you’ll find all your user-defined variables.
Select ‘Configure’ in the ‘Built-In Variables’ table.
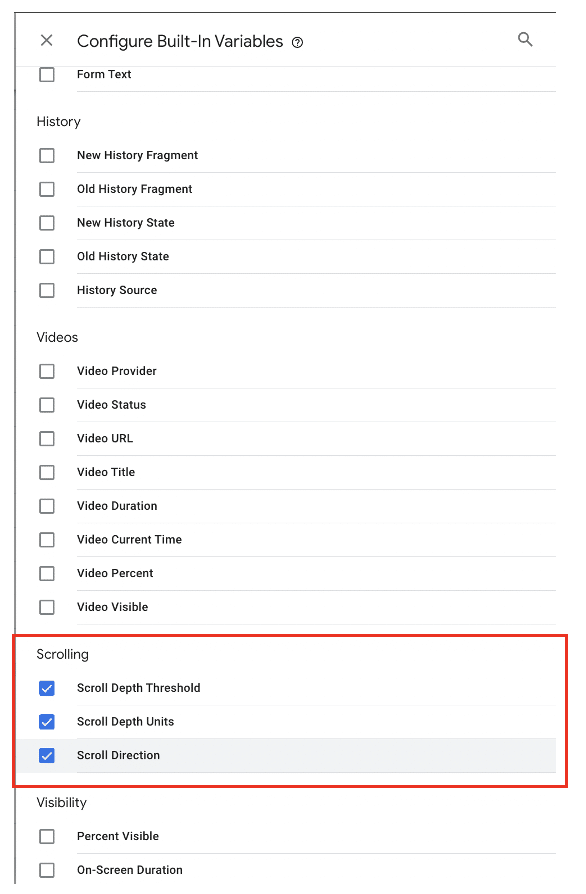
For scroll tracking, we need to select variables found in the ‘Scrolling’ section. This includes the ‘Scroll Depth Threshold’, ‘Scroll Depth Units’, and ‘Scroll Direction’.
Now, you can create a new tag and use the variables selected to carry out scroll tracking,
Add separate staging and live environments
Within GTM, multiple ‘environments’ can be created in the same container. These are entirely independent of each other and can help gather additional information. Within your audit, it’s important to ensure you have created separate environments for staging and live websites.
If you’re unsure, a staging website is a private space that contains an identical copy of a public site. Here, website owners can test new changes before committing to them. A staging environment is a useful way of avoiding simple mistakes that can take a lot of time to correct.
The more tags, triggers, and variables you have on your site, the harder it will be to keep track of them. To keep tabs on all the elements in your GTM accounts, it’s a good idea to create folders.
You can create as many folders as you’d like within GTM. During your audit, ensure that folders have been given descriptive names that make it easier for viewers to understand their contents. Make sure that the included tags are relevant to the folder.
Here’s how you can create folders within your GTM account.
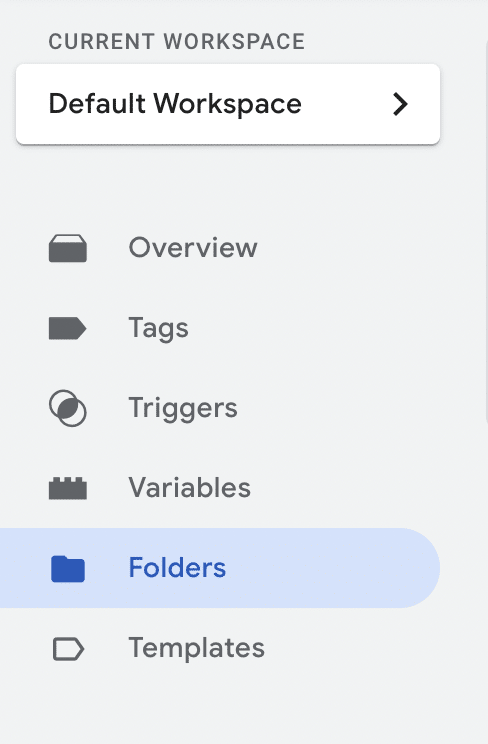
Within GTM, head to your toolbar and choose ‘Folders’.
You will be brought to a page showing all your existing folders within GTM. Choose ‘New Folder’ on the right of your screen.

Choose a name for your folder, then select ‘create’. Your folder will now be listed on the folders page.

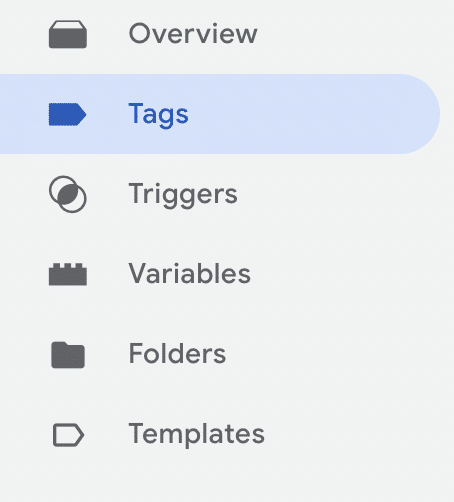
Now, navigate to the ‘Tags’ menu by selecting it from your toolbar.
You’ll be presented with a list of all the tags within your GTM account. You can tick all the tags that you would like to move into your folder. When you’ve made your selection, choose ‘Move to folder’ at the top right of your screen.

You’ll be prompted to move your selected tags into a specific folder. Choose the folder you created earlier from the list.
Run your audit today!
Google Tag Manager is an essential tool for modern marketing and analytics. That’s why it’s critical to ensure that your GTM is running correctly. Regular GTM audits help you quickly identify and iron out issues before they become problematic.
In this guide, we’ve explored some of the factors to consider during your audit. Remember, always begin with a thorough measurement plan to gauge the success of your GTM implementation.
Unsure about carrying out a GTM audit yourself? No problem! MeasureMinds can audit your GTM setup as part of a comprehensive process, involving GTM clean-up, server-side implementation, and more.
Find out for yourself by requesting a free audit today!